Autopilot Behavior Box
A modular box for training mouse-sized animals
| Modality | Enclosures |
|---|---|
| Build Guide Type | Construction Build Guide |
| Creator | Jonny Saunders |
| Version | 2 |
| Submitted Date | 2021-06-10 |
Ingredients
Materials
| Name | Quantity | Dimensions | Manufacturer | Product ID | Price | Page | Datasheet |
|---|---|---|---|---|---|---|---|
| 80/20 - 1010 | 8, 4 | 10", 8" | 80/20 | 1010 | |||
| Cast Acrylic | 1, 5 | 10x10", 8x8" | EPlastics | [1] | |||
| Neodymium Magnet | 16 | 3/16" x 3/8" | K&J Magnetics | D36 | 0.54 | [2] | |
| T-Frame End Fastener | 16 | 1/4-20 | 80/20 | 3682 | 2.3 | [3] |
Tools
| Name | Tool Kind | Dimensions | Manufacturer | Product ID | Datasheet |
|---|---|---|---|---|---|
| Drill Press | Drill | ||||
| Laser Cutter | Laser | Universal Laser Systems | VLS4.75 | ||
| Miter Saw | Saw | ||||
| Thread Tapper | Hand Tools Etc. | 1/4" - 20 |
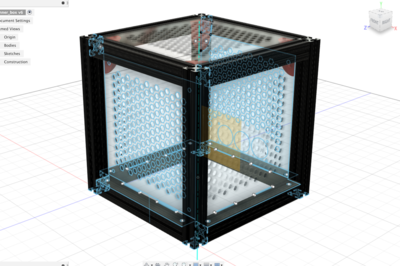
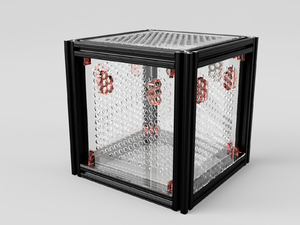
A modular behavior box made of 1" 80/20 - 1010 extruded aluminum and 3/32" thick transparent acrylic sheets. Every panel except the bottom is removable, attached with a combination of slots in the acrylic and magnets. This box is 10"x10"x10", but is adaptable to any size by scaling the cad files
Tool List:
- A Bandsaw or other means of cutting the 80/20 to size
- A Tap - 1/4-20 to tap threads into the end of the 80/20
- A Drill Press for through-holes in the 80/20, but a handheld drill will also work.
Prepare 80/20
Cut to Size
Cut a length of 1" 1010 size 80/20 (or order to size) into lengths
- 4x 10" - for the vertical beams
- 8x 8" - for the horizontal beams
Drill Access Holes
The horizontal beams are connected to the four vertical beams using End Fasteners, which need an access hole to tighten.
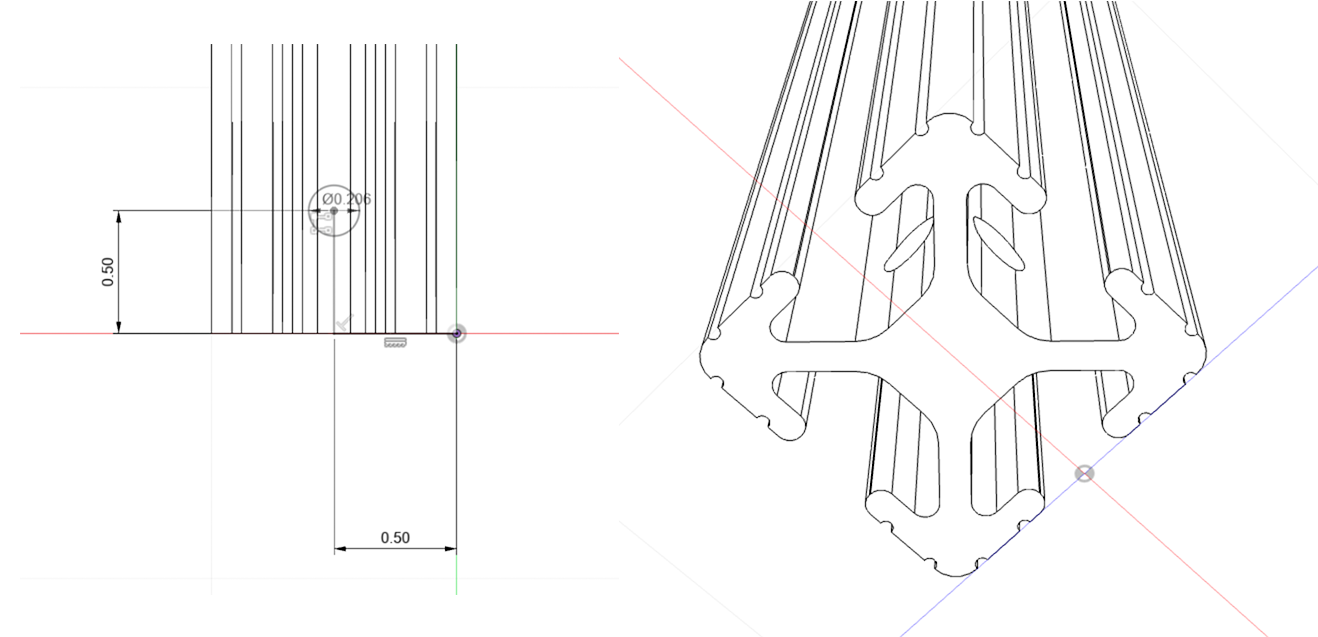
Drill holes from both faces (through all four faces) 0.5" from the end of all four vertical beams. The position and size of these holes do not need to be precise, they just need to allow you to reach a Hex wrench through it to tighten it while the horizontal beam is flush with the end of the vertical beam.
I recommend using a drill press with a clamped jig to position your beams, but doing it by hand with a handheld drill works too ;)
Tap Ends
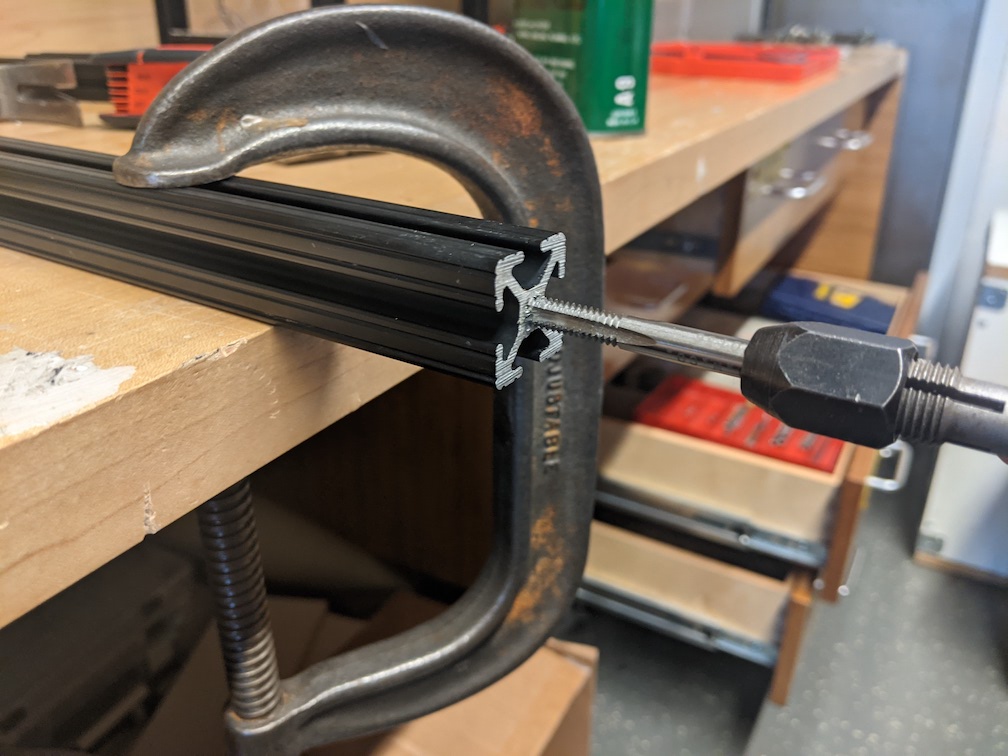
To attach the end fasteners, both ends of all the horizontal beams need to be tapped (cut threads into the inner cylinder). Since we are using 1/4-20 screws in this build, you should use a 1/4-20 tap (but substitute as needed)
This can be done with a tapping stand, but because the 80/20 beams already have the center cylinder extruded through them that guides the tap quite well, so in my experience a handheld tap was perfectly fine. When using a handheld tap, add a drop of cutting oil on the tip, and check from two 90-degree angles (eg. top and side) to make sure the tap stays square through the first few turns. Once the tap catches and starts to cut, the resistance will increase. Turn the tap slowly and consistently, and make sure not to apply any lateral pressure to/bend the tap while turning it or else you will shear it! If the resistance is too high and you are worried about snapping your tap, you can always back it out, clean it off, and go back in.
You only need to tap 3/8" or so, just enough to let you screw down the end nuts.


